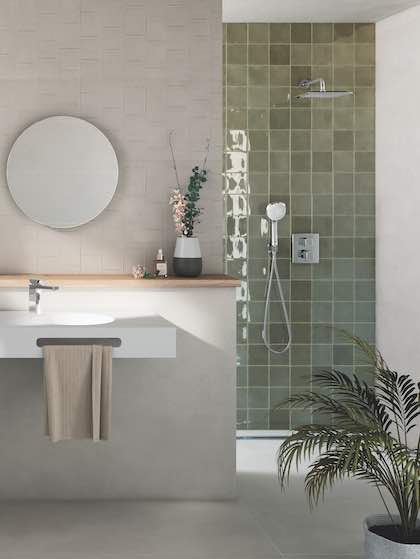
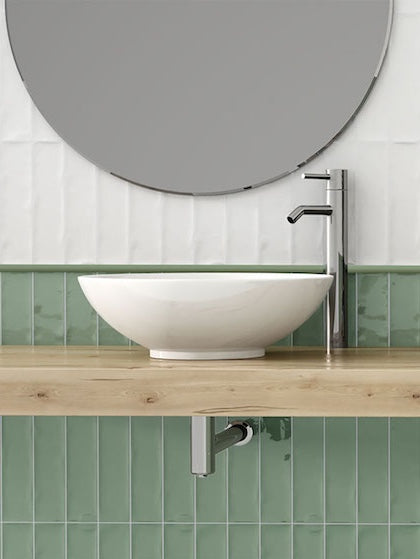
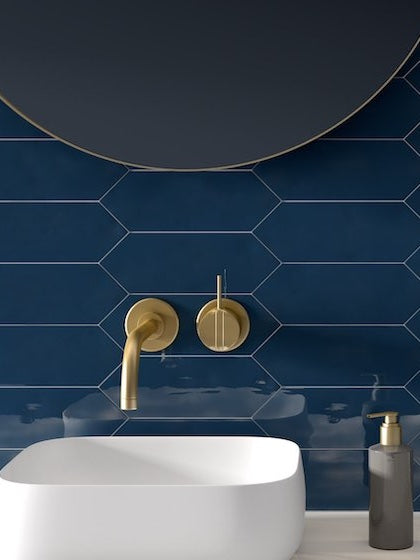
An alternative to flat paint, ceiling tiles can equally create a charming appeal and ultimately update the aesthetics of your space. Even though tiling the ceiling is not as common as painting it - it can definitely be a stylish way to add a sense of dimension and visual contrast. In some cases, ceiling tiles can even play thermal and acoustic qualities.
Even if you’re looking to hide any stains or remove popcorn ceilings - these tiles can play a perfect role. So, here’s a step-by-step guideline on how to install ceiling tiles along with materials and DIY tools that you’ll need. Have a look!
Materials and Tools You’ll Need
- Surface-mount ceiling tiles
- Paint Roller
- Adhesive
- Caulk
- Caulking Gun
- Ladder
- Pencil or Tape Measure
Step 1: Measure and Start Preparing
First and foremost, you’ll need to determine the total number of ceiling tiles required. So, measure the length and width of the ceiling and multiply them to know the overall square footage. Now here’s a pro tip - always ensure to order an extra 10% tiles to accommodate any cracks and damages later during installation.
Now that you know the number of tiles required, it’s time to prep the ceiling surface. You must simply clean and remove any prominent bumps and ensure the surface is free of any debris and dirt. Now is the time to apply a coat of primer so the adhesive can effectively stick to the surface.
Step 2: Mark the Center Point
You must always start laying the ceiling tiles from the center towards the edges. Using a caulk line, create a cross at the intersection and you’ll exactly know where to begin. Use
Spirit level to ensure the lines are straight and even.
Step 3: Apply Adhesive and Start Laying the Tiles
Start applying the adhesive on the surface using a dry paint roller to ensure it sticks properly. Now is the time to evenly lay out tiles and demarcate the rows and columns of each! Don’t overpress the tiles since they might squeeze the adhesive out! You must firmly place the tiles until they’re strongly fixed.
Step 4: Measure and Cut Edge Tiles
Now that you’ve reached the corners, it’s time to measure and cut the additional tiles to fit in the surface. Using a straight edge, measure the tiles and cut them using a utility knife. Firmly apply the adhesive and press the edge tile to the ceiling and keep repeating the process.
Homeowners often inquire about the best tile material to go on the ceiling. In general, cork is one of the easiest ceiling tiles to install. They’re light, flexible, easy to install and can offer acoustic advantages. Just don’t lay the cork tiles on the plaster very soon and you’re good to go! So, are you excited to start sprucing your ceilings? Well, do let us know your thoughts in the comments below!

