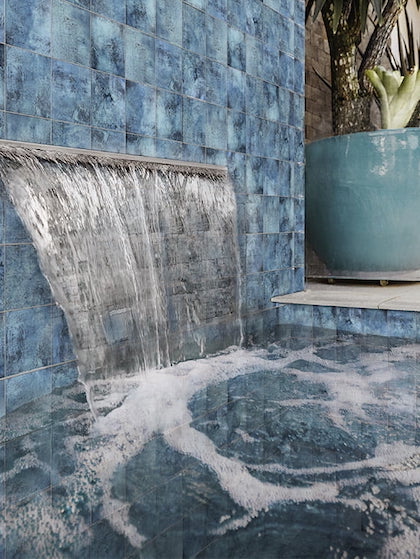
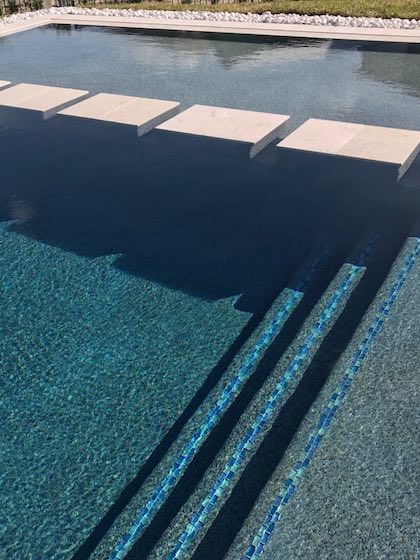
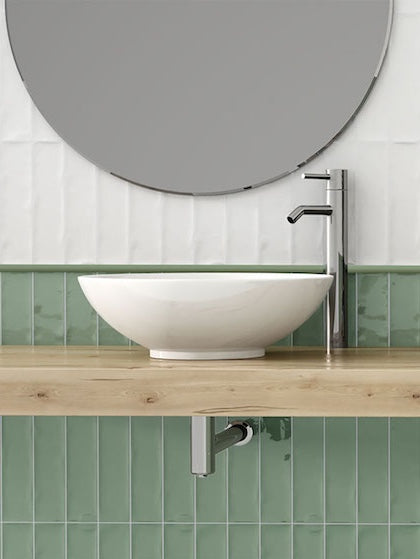
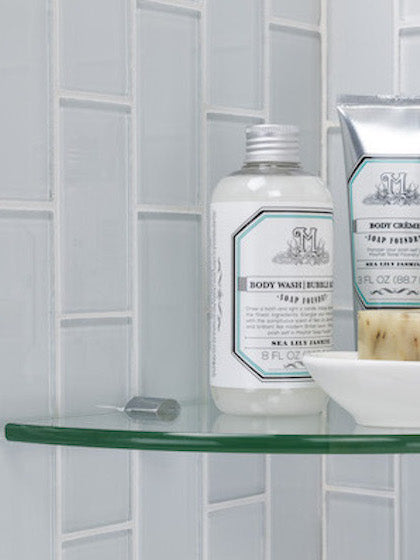
Mosaic tiles have always been making a statement in the interior design industry. They can be used on the kitchen backsplash, bathroom walls and floors, featured walls, countertops, and more. They have the potential to create a sense of visual interest and make a space look even more detailed and quirky. Many DIYers and homeowners wonder whether mosaic tiles need to be installed individually and that’s definitely not true. Multiple mosaic tiles are pre-attached to a mesh fiberglass backing for easier transportation and installation.
In this guide, we will go through a step-by-step procedure for installing mosaic tiles. But before you begin, ensure that the base or the surface of the mosaic tiles need to be flat or smooth. You can further install mosaic tiles directly on the plywood. Here’s a list of tools and materials you’ll need to get started!
What Do You Need to Install Mosaic Tiles?
- Mosaic Tile Sheets
- Grout
- Grout Sealer
- Tile Spacers
- Notched Trowel
- Rubber Tiling Float
- Tape Measure
- Wet Saw
- Utility Knife
- Chalk Line
- Level
Step 1: Layout of the Tiles
First and foremost, you need to plan the layout of the tiles. It’s time to measure the length and width of the space and start from midway! You must plan to install full sheets of mosaic tiles from the center towards the edges and then cut corners for a seamless, balanced, and hierarchical look.
Step 2: Start Laying the Tiles
Using a notched trowel, start laying thin layers of mortar. Ensure to not over-apply mortar on the cement board or plywood and the substrate should be visible at all times. Make use of the tile spacers to ensure the gaps between the tiles are equal to the gaps between the tiles interlocked together. Keep the grout lines seamless and unified.
Step 3: Press the Tiles
Once the mosaic tile sheets are installed, ensure to softly press the surface using either a small piece of wood or a clean rubber tile float. Don’t press the surface hard since it might squeeze the mortar out!
Step 4: Install the Trim Tiles
Cut tiles using a wet saw or a cutter to complete the tile layout up to the edges. Meanwhile, you must also install accent trim pieces like baseboard tiles and bullnose edging to further complete the look. After the mosaic tiles are installed, wait for some time so the grout can harden!
Step 5: Mix the Grout
It’s time to mix grout and get started! You must use the unsanded grout for seams that are less than 1/8th inch or less. On the other hand, use sanded grout for seams that are 1/8th inch or more!
Step 6: Apply the Grout
Using a rubber float, gently spread the grout over the tile surface. Slightly lay the grout into the joints by holding the float at a 45-degree angle. And in the end, do scrape off excessive amounts of mortar from the surface of the tile.
Step 7: Clean and Seal the Tile
Once the grout is dried, clean off the surface using a damp cloth or sponge. You must use a liquid grout haze remover to complete the task! Upon completion, seal the grout surface to protect the underlayment.

