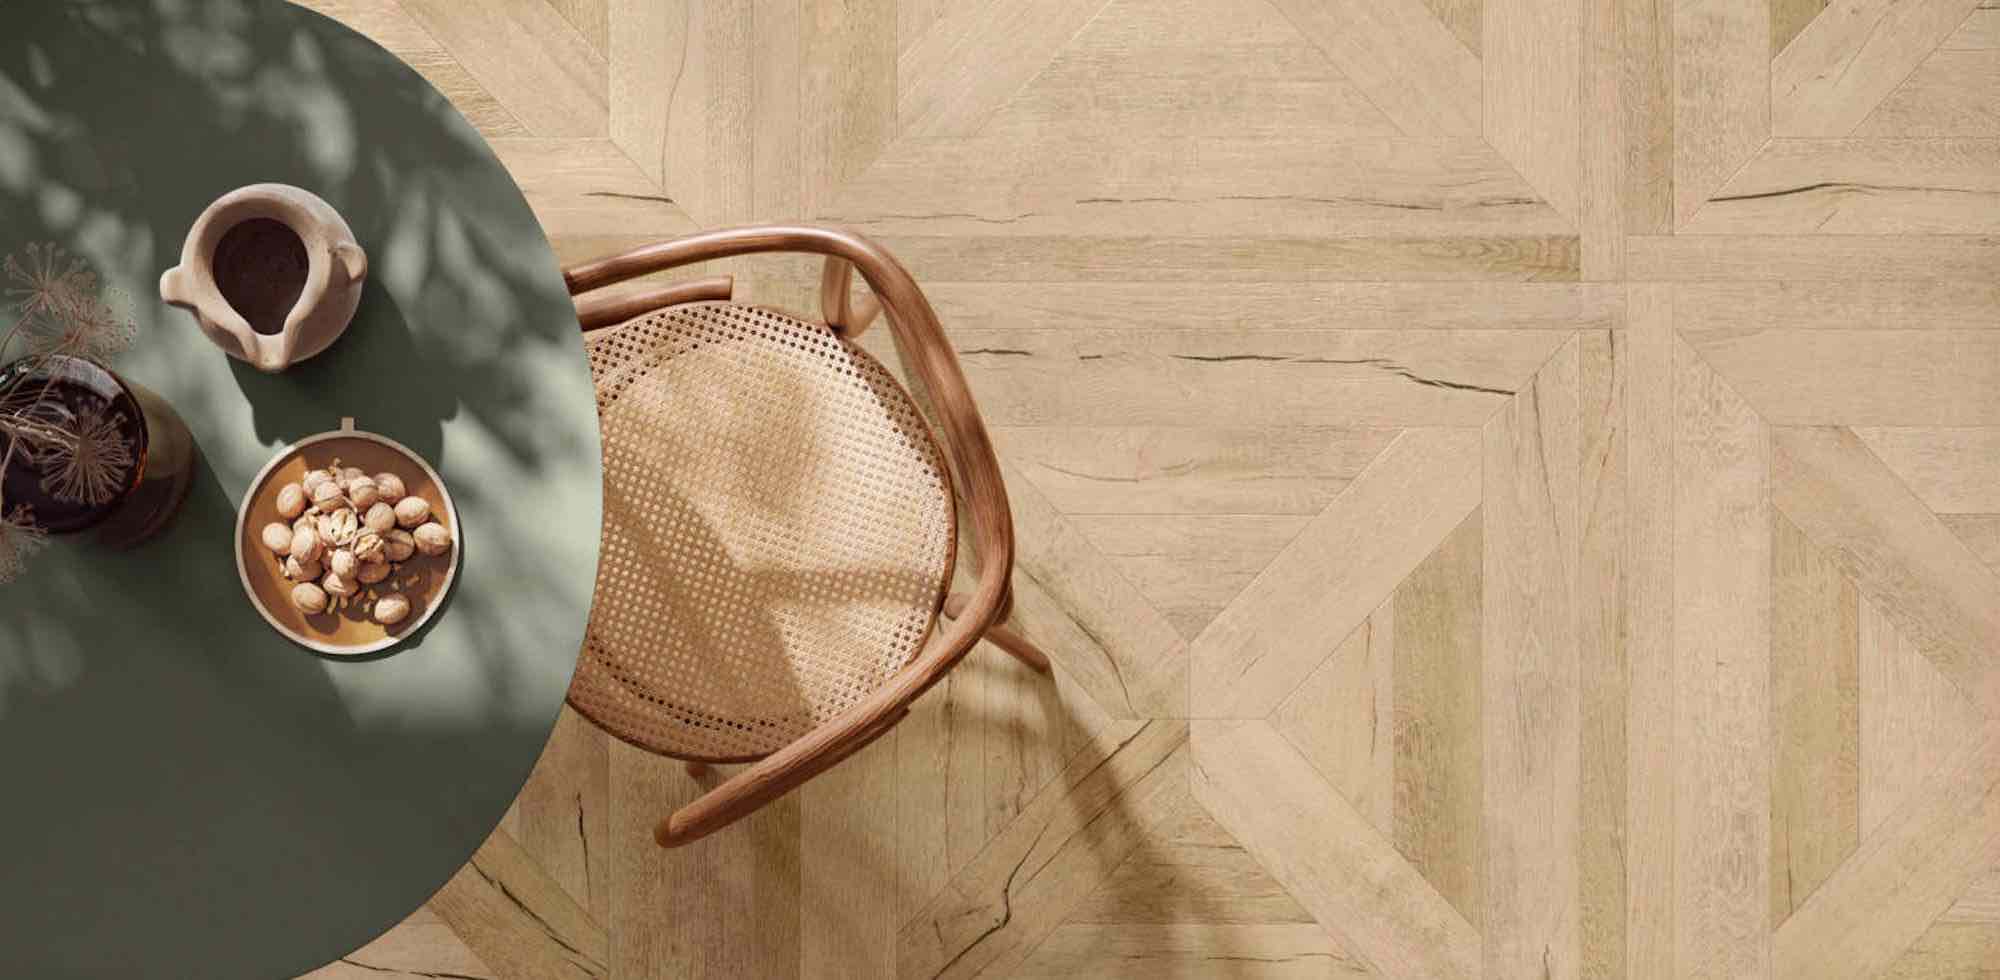
Peel and Stick tiles are a DIYers best friend! Also known as self-adhesive tiles, these are currently gaining a ton of attention in the interior design industry. Whether you’re looking to revamp the flooring or walls, the peel-and-stick tiles are a quick, easy, and practical way to do so. Not only the renters but other homeowners as well are looking to upgrade their homes in an efficient and quicker way. However, what if you need a break from these peel-and-stick tiles? Can they be removed? Well, yes! Removing peel-and-stick tiles is relatively easier than removing wall tiles. Here’s a step-by-step guideline that you must know!
Equipment and Materials Required to Remove Peel-and-Stick Tiles:
- A heat gun or hair dryer
- Baking Soda
- Rubber Mallet
- Adhesive Remover
- Pry Bar
- Floor Scraper
How to Remove Peel-and-Stick Tiles?
Step 1: Apply Heat
Make use of a hair dryer or heat gun to apply heat to the peel-and-stick tile. This will soften and loosen the adhesive underneath and make it easier for the peel-and-stick tile to come off! You must only use a hair dryer for smaller projects and consider using a heat gun for larger projects.
A Pro Tip: When removing peel-and-stick tiles, aim to remove the entire tile piece in one go. Else, you’ll be chipping off the leftover tiny bits of tile pieces.
Step 2: Start Peeling From Corners
Now that the adhesive is softened, it’s time to start lifting the tile from the corners. You can choose to insert a pry bar to help remove the peel-and-stick tiles. All you need is to gently take off the tile and not apply too much pressure. To speed up the process, you can also choose to gently lay the pry bar underneath the tile surface and subtly remove the whole piece up at a 40-degree angle.
Step 3: Keep Removing Tiles
Continue the process of heating and raising the tile surfaces one by one. As a rule of thumb, you must start removing the tiles from left to right or even vice versa as per your convenience.
Step 4: Remove any Remaining Residue or Adhesive
Once all the peel-and-stick tiles have been removed, ensure to clean off any remaining residue or adhesive. You can choose to scatter baking soda over the floor or wall and then vacuum the surface to avoid any stickiness. Now it depends on what you’re laying next! If you’re choosing to lay another peel-and-stick tile, just simply let the surface be (you don’t need to clean with baking soda while simply laying an added layer of adhesive). In case you’re looking to lay ceramic or porcelain tiles, just simply use wet cementitious adhesives for a dust-free surface.
Still left with some glue left on the surface? Well, simply use a good-quality glue remover and remove using a scraper tool! Now, your subsurface is absolutely ready for a fresh layer of tiles! You must follow this step-by-step guideline to easily remove any peel-and-stick tiles from the walls or floors.

