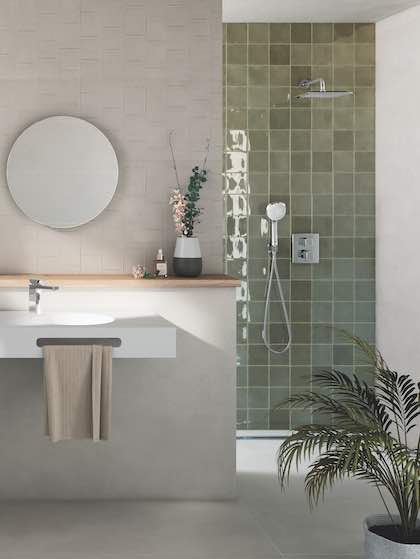
Tiled countertops were a trend back in the 80's and 90’s and we can somehow see the trend coming back! It definitely brings a sense of drama and visual contrast with some fun pop of color on the countertops to make a high impact in the space. Well, tiling countertops is simply just like tiling any other space - but with some additional expertise and guidance. In this article, we will briefly discuss a step-by-step guideline on how to best tile the countertops without any damage or creating a mess. Let’s get started!
Materials and Tools You’ll Need
- Adhesive and grout
- Notched Trowel
- Grout Float
- Plywood Board
- Jigsaw
- Tiles
- Tile Cutter
- Spacers
- Caulk Sealant
- Straight Edge
- 1/4-inch tile backer board
Step 1: Prepare a Firm Base
If you’re looking to lay the new layer of tiles on the existing countertops - ensure that the subsurface is strong and rigid, and that the correct adhesive is being used in the process. Tiling curved corners can be a tricky business and height issues can equally be challenging. On the other hand, if you’re removing the existing countertop and laying a fresh layer of tiles - ensure to place a plywood board with a layer of 6mm backer board. Now, make sure that the surface is clean and free of any dust or dirt.
Step 2: Measure any Cut-outs like Sink, Hob, and Basin
Using a jigsaw, make sure to cut any holes required for basins, sinks, and hobs. Now here’s a pro tip - when choosing tiled countertops - always be sure to choose overmount sinks and sit-on basins and hobs for the best results. Once placed, ensure to seal the edges with caulk to avoid any water ingress.
Step 3: Pick the Best Tile
Choosing the best tile for your bathroom or kitchen countertop is primary. Just the slightest mistake can lead to dollars and dollars of loss. Hence, all in all, porcelain tiles are one of the best options for tiling countertops. They’re durable, non-porous, water-resistant, and can offer extreme durability and longevity. You can even choose to style large-format tiles since the fewer grout lines will make it easier in the long run. Avoid ceramic tiles since they may require sealing and resealing periodically!
Step 4: Try the Tile Layout First
Countertops are highly visible and there’s no room for mistakes, isn’t it? Hence, you must first start laying out tiles from the center towards the edges and leave a gap of 2 mm or 3 mm for grout lines. Here. you can make use of the spacers to go! You can also use a straight edge to ensure that the tiles are laid out straight.
Step 5: Start Tiling and Grouting
Start applying the tiles firmly and use a notched trowel to softly press them. On the edges, you can even use a tile trim for a cleaner finish line. Don’t forget to use the caulk to seal any edges or gaps to invite water inside. Use a resin-based grout that is stain-resistant and non-absorbent to protect your countertops against molds and bacteria.

