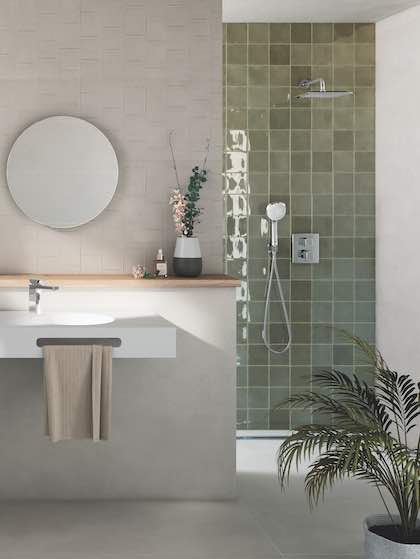
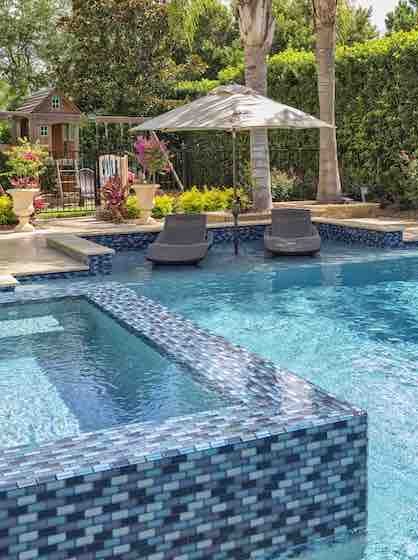
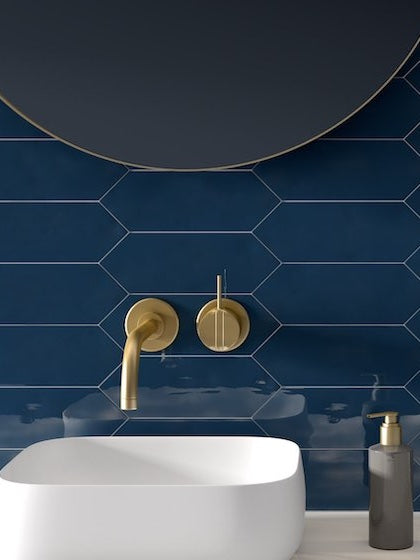
Subway tiles are a popular kind of tile used for walls and backsplashes. They get their name from the iconic New York subway stations and are one of the most flexible tiles when it comes to design. They are often glazed, white, and usually have a width twice as tall as their length, but nowadays they come is a variety of materials, colors, and sizes.
With their interesting shape, there are a number of ways for you to arrange them. Below are the most popular ways to lay subway tiles and a simple visual guide.
Classic Running Bond
Subway tiles that are arranged in the classic running bond pattern adds a seamless floor-to-ceiling look to bathrooms and kitchens. This takes its inspiration from conventional brickwork.
A simple patter that’s easy to lay out and needs little complicated cuts, this pattern is a popular choice for those looking from a classic and simple look. It offers the space a crisp and cohesive look, perfect to set a composed background for a busy workspace.
Choose a larger tile size (3x6-inch, 4x8-inch, or 6x12-inch forms) for wall-spanning setups. Best to use white or a light colored grout to keep the tiled wall from looking too fussy.
Vertical Running Bond
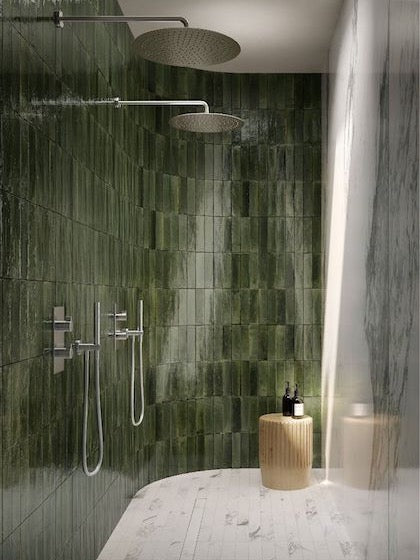
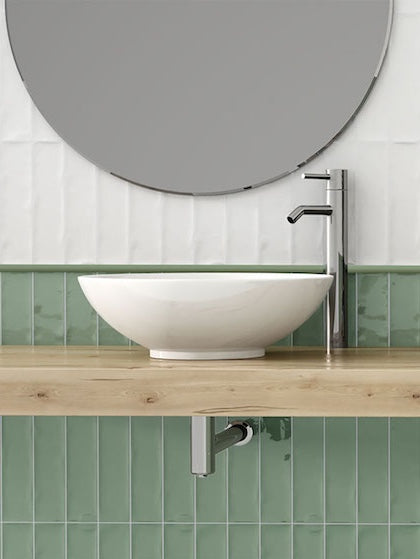
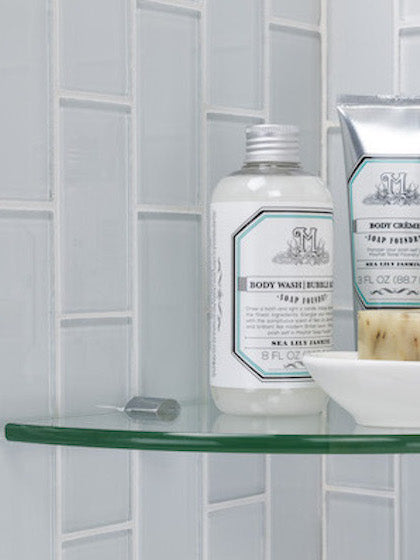
Large subway tiles that are arranged vertically can give you the illusion of higher ceilings and taller walls, ideal for small spaces that are looking for a little more height. When installing subway tiles in a running bond pattern, offset the rows by a half of a tile and pair it with a darker colored grout, such as a dark gray one. This gives a more dramatic and interesting statement.
45-Degree Herringbone Pattern
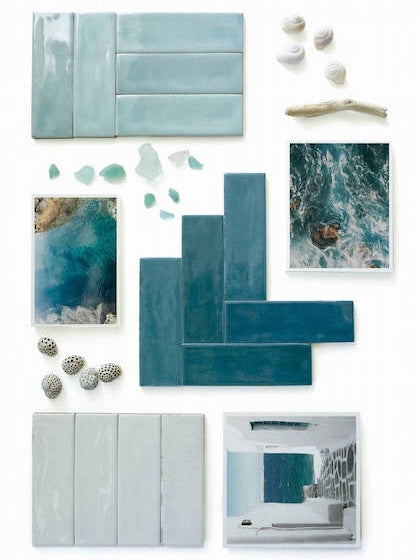
Setting the tiles at a 45-degree angle with the joints offset and positioning the adjoining tiles to the centers creates a herringbone, also called a chevron, pattern that looks similar to the fish scales which the pattern is named after. The pattern draws the eyes up and down, making the area stand out. Finish the herringbone pattern with a contrasting grout color to really make the pattern stand out.
Double Basket Weave
A modern twist to a classic, the double basket-weave pattern is ideal if you want to give the space a familiar yet different look. This pattern involves a pair of horizontal tiles framed by a pair of vertical tiles. Another benefit of this pattern is that it’s simple to install but adds something unique about the space. Since it uses subway tiles with common shapes and sizes, achieving this look is not difficult to do.
Horizontal Stacked Bond
The Horizontal Stacked Bond is by far one of the easiest ways to install subway tiles. The tiles simply need to be aligned and evenly stacked in rows of the same sized tiles. A very minimalist look that can give any space a clean and orderly look, this pattern is ideal for modern and transitional designs.
Vertical Stacked Bond
Stacking your tiles vertically can make a world of difference. Vertically installed times give you a unconventional look. Smaller rectangular subway tiles are the best type to use for vertical stacked bond installations. They give you a tidy, organized look and they make the area look a bit taller. Ideal if you’re working with a limited space like a smaller backsplash area or an accent wall.
Stacked Running Bond
Can’t decide between the different stacked bond patterns? The Stacked Running Bond pattern allows you to have the best of both worlds! Not only will it give your wall an interesting look, this unique pattern is also a great way to play around with different colored tiles.
Whatever pattern you choose, make sure you pick the right shape and size of subway tiles for the job.

