Tools & Settings
Are you wondering what you need to accomplish your DIY backsplash project? This is the place to start. Here, you will find pre-mixed grout, a peel-and-stick self-adhesive tile mat, a grout float, a sponge, spacers, a utility blade, and tonnes of advice.
1) Measure the area of your backsplash.
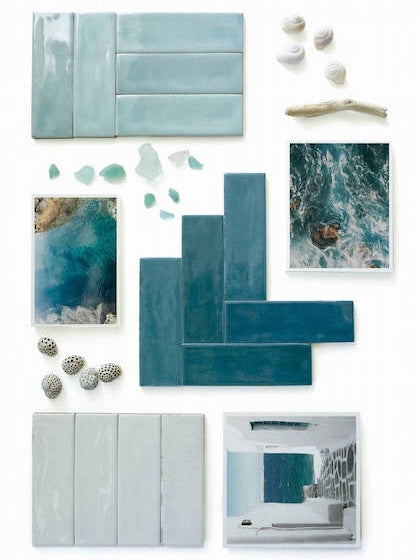
2) Select the desired tile - choosing the color is an excellent way to start.
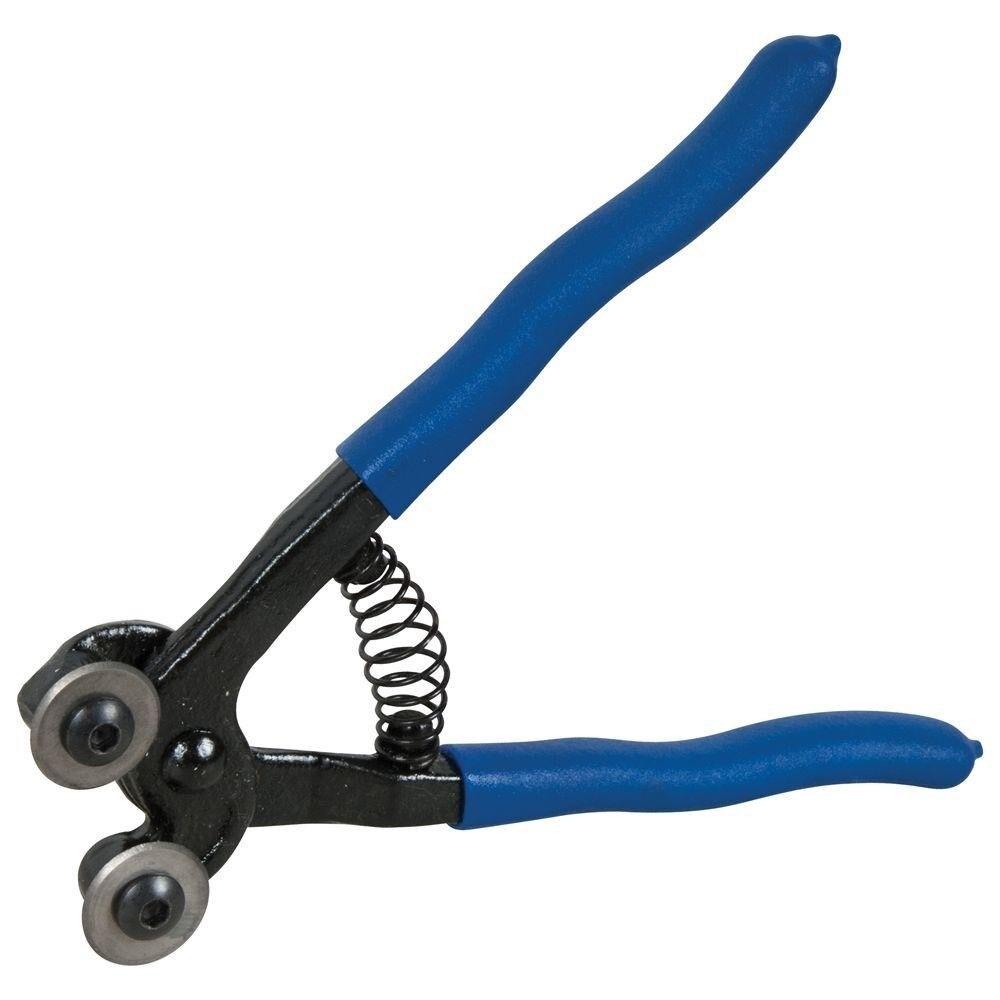
3) Consider using the DIY Backsplash Kit or creating your own kit by gathering a grout float, sponge, utility blade, a scoring and nipper tool, measuring tape, and premixed grout.
4) Do you Have a tile in mind that is unavailable as peel-and-stick? Consider using a premixed tile adhesive. It can be used to install almost every type of tile, regardless of its thickness or finish.
5) Order sample swatches before committing the final quantity.
6) Play with the samples by putting them against your countertop and cabinets.
7) Once you decide which one you prefer, order it online and save money with free shipping.
8) After receiving your tiles, follow the installation instructions and enjoy your new room.
9) Is it going around electrical outlets and other obstacles that are blocking you from doing your own backsplash? Check out our "How to Install Mosaic Tiles Around Electrical Outlets" graphic and written guide.
10) If you like DIY home improvement, visit the DIY Network website. There, you will find lots of helpful information.
Filters
Filters

