

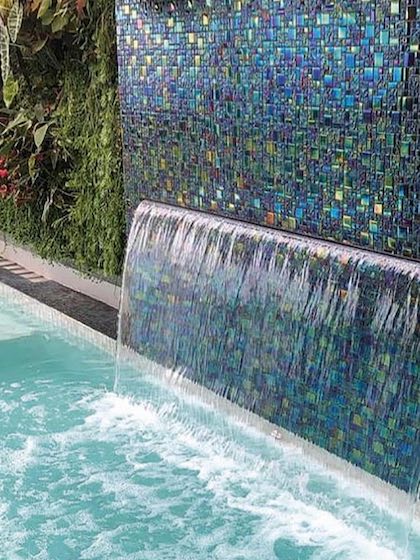
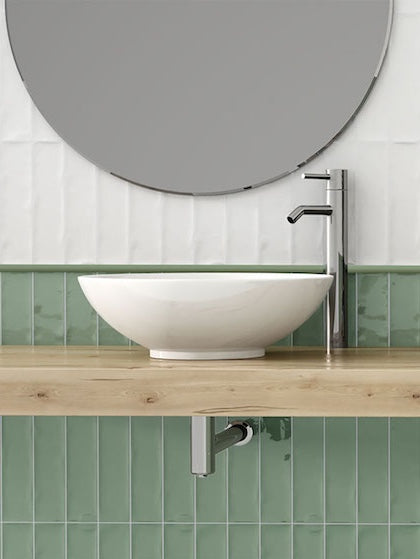

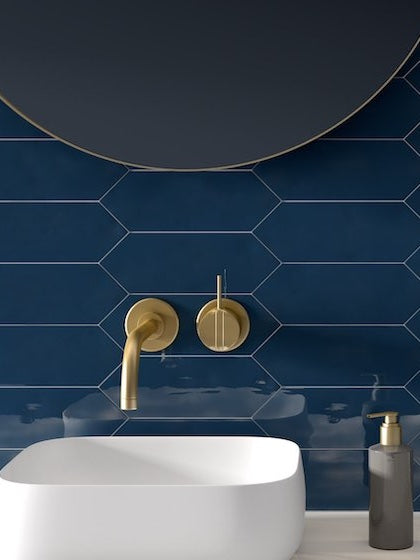

A tiled window recess can offer numerous practicality, hygiene, and aesthetical advantages. Whether it’s the window of a bathroom or kitchen - protecting your window sills from spills and splatters can make your space also feel free of clutter. Tiles are easy to clean and just a wipe off using a damp cloth can truly do wonders. Moreover, you’re also adding a sense of dimension and depth to the windows - regardless of the fact that tiling a window recess can sometimes be difficult and costly.
Hence, here’s a step-by-step guideline on instructions and everything you’ll need to get started. Have a look!
Equipments and Material You’ll Need
- Joint Compound
- Mortar
- Tiles
- Caulk
- Tape
- Sandpaper
- Spacers
- Grout
- Finishing Nails
- Fiberglass Insulation
- Pry Bar
- Drill
- Handsaw
- Grout Float
- Putty Knife
- Caulking Gun
- Bucket
- Sponge
- Trowel
Step By Step Guideline - Tiling Window Recess
Step 1: Remove Casing & Sill
Using a pry bar and hammer, remove the window sill and casing. You may also insert a piece of scrap wood to avoid damaging any surface.
Step 2: Insulate any Gap
Insulation is an important step! So, now it's time to add some fiberglass insulation into the gaps between the jamb and the wall. However, remember not to hinder the movement of the window sash, especially for double-hung typologies. If you’re also tiling the wall, ensure to add fiberglass drywall tape and compound.
Step 3: Choose Type of Edging
How would you like the edge of a tiled window? First and foremost, you can set the bullnose on the wall. At this time, let the recess tiles set in first followed by the bullnose on the wall. The second method is to use the corner edging tiles! You can mark the wall where the edges of the corners will fall. Then later, set the wall, then corners and lastly jamb tile. Lastly, you can also apply a decorative border strip around the recess and then apply the bullnose tiles. In this way, you can set the tiles and border prior followed by the jamb tiles.
Step 4: Set Tiles
It’s time to spread and comb the thinset on the sill plate before the sides. Furthermore, you may mortar the jambs and lay the side tiles, holding the entire structure using 8-diameter nails. Lastly, grout these tiles using a float!
Step 5: Add Supports
To ensure the grout lines are straight, install the wall tiles flushed with the jamb. Now set the ceiling tile in mortar paste and support it with three boards or battens to strengthen the structure. Lastly, avoid pushing these tiles too hard into the mortar so they don’t end up dislocating. Yes! Let the mortar dry.
Step 6: Caulk the Joints
Use a caulk which has the same color as the grout! Now, remember to caulk the joints between the tiles and window to prevent any water damage. Lastly, smoothen the surface using a caulking tool!
Voila! You have just tiled your window recess at home. Yes, it may seem like a tedious task but is definitely fun to DIY!